Well, what a busy week it has been with the TARDIS console. There has been a huge progression with the time-travelling unit. With the panels securely in place, the easy part of this project has started…marking out the panels where the controls are going to be.

The above development of securing the panels together on the day of the last post, Sunday, 28 June 2020.

The upper frame was a little tricky to construct due to the angle the cut, but with the help from Mark, this soon came together.


With the panels are secure, I have started marking out where the controls are going to be installed. The first being the holes for the air vents to allow circulation inside the console during operation of the lighting, computer and effects.

Originally, the keyboard was going to be flat against the panel but I found the angle uncomfortable for typing, so this shelf has been built using the offcuts of MDF from the panels.

I’ve now cut or drilled holes where lights, meters and switches are to be placed. I still have some parts coming for one panel, so this gives me time to work on how the table will be secure to the base and applying castors to the base for easy manoeuvrability.

To get an idea of what the console will look like, I installed some of the controls and light housing. I am starting to feel a sense of completion now all is coming together nicely.

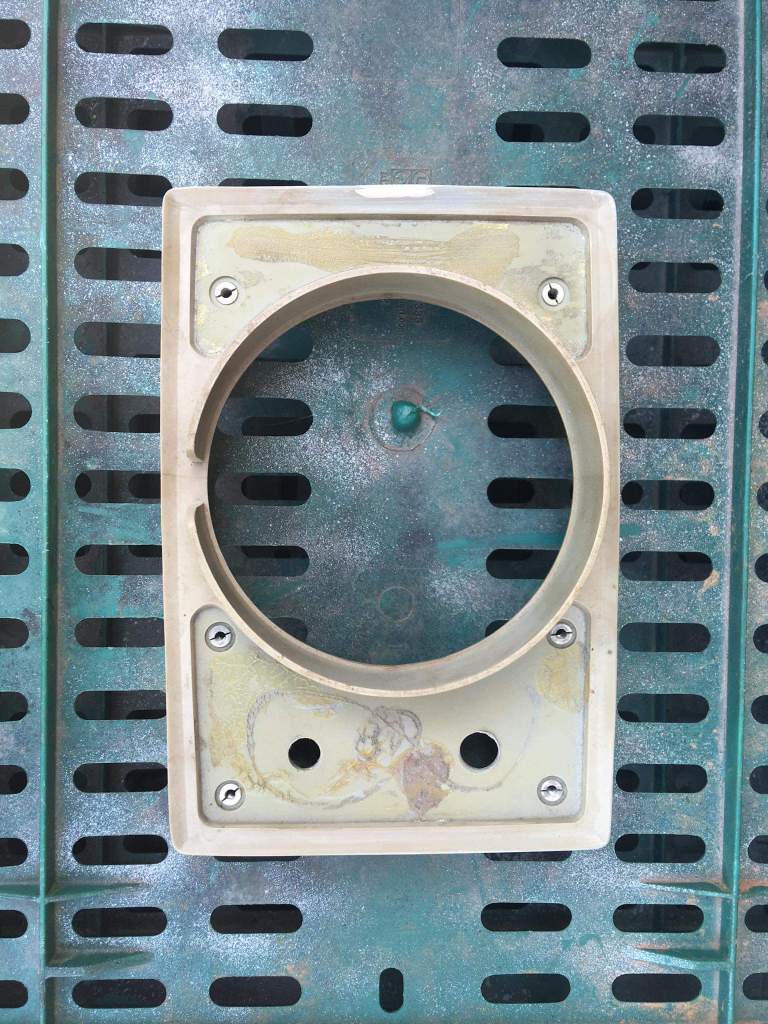
The fault locator was made by Robin G Burchill, who inspired me to build this console when I watched his Doctor Who film, Prisoner 71, the film that I mentioned in Doctor Who fan films.
The device is made from an old housing for a radar scope used on a boat, which Robin cleaned up and restored. He installed LED lighting that rotated as though it is a working radar scope.
The image below shows how the part originally looked.